How to Turn Your Handwriting Into A Photoshop Brush
Wednesday, March 09, 2016Hello people of the internet! This is a completely different kind of post for me. I recently shared some hand lettering I did on Snapchat. When I did that I also showed how I made it into a brush on Photoshop. Not going to lie, it's one of the easier photoshop tricks.
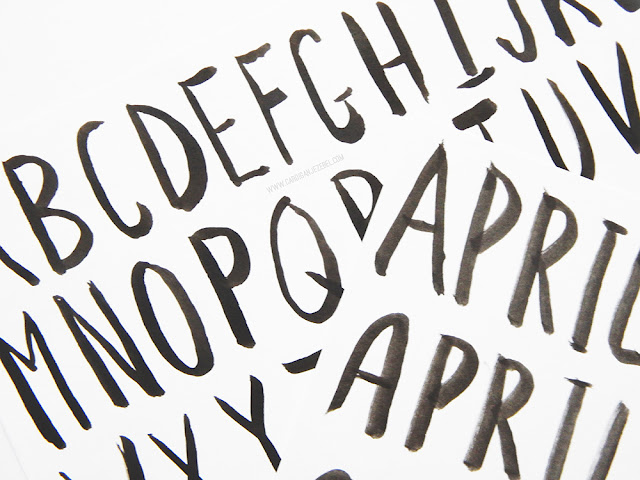
1. You're going to want to start out by writing whatever you want to say. As you can see I was really working with the word April. That's what I'm going to use as my example for this post. Make sure you write it on plain white paper. We don't want any lines or anything. (Pro tip: Write out the word a lot. It's better to have a few options )
2. Next, you're going to want to download an app called CamScanner (the free version).
3. Once you download CamScanner, take a picture of your paper and hit the check mark. It'll bring you to a page with the image(s) you scanned. Select share. I prefer to just send mine to myself via Facebook Messenger. Just remember to send yourself the JPG! Then, save it to whatever device you want to use Photoshop on.
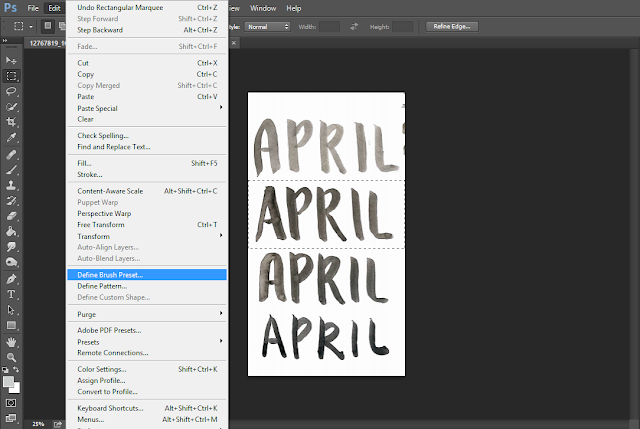
4. Next you want to open the image in Photoshop. Using the rectangular marquee tool select the part of the text you want to use.
5. Once you have that selected, go to the top toolbar and into the Edit drop down menu. Near the middle, you should find a line that says "Define Brush Preset". Click that!
6. Once you click "Define Brush Preset", this box will appear. You can rename it if you want to or just hit okay. That's it! You've created a photoshop brush!
The brush will be in the bottom of your brush list. You can resize it, change the color, just everything you can do with a normal brush! I love how mine turned out. I used an eyeliner dipped in water to get that watercolor effect. Don't be afraid to try out different things. Now, get writing!
Have you ever made a brush in Photoshop before?
Let me know in the comments below or on Twitter!
Connect with me


2 comments
ReplyDeleteNice tutorial, This is very useful, Thanks for sharing.
photo editing services
This looks super useful, thank you for sharing! I'd definitely be interested in more posts like this one 😘
ReplyDelete